
Viking Shield part 2

As I was
saying in my last post, I put together the shield, laid down some basic
designs, gave it a good sanding and now I am almost ready to finish the
project.
I then put
a new coat of the iron oxide vinegar mix and aloud it to dry and then put one
more application to some of the inside panels to make them stand out more.
.jpg)
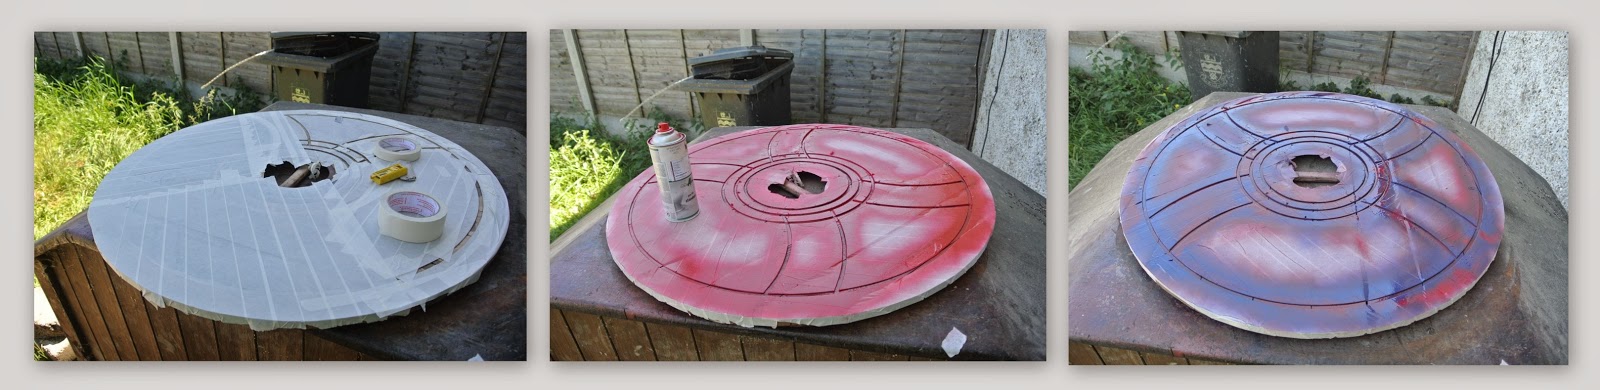
Once
everything had dried out, I then decided to put some colour into the decoration
lines. I felt the best way to do this was to mask everything off and then use
some blood red spray paint I had. I really thought this would work until I ran
out of the red, but I did have a small can of blue, so I kind of mixed
everything up. I know that this isn’t what the Vikings would do, but as it was
my contemporary version of a shield, I feel it will look ok.
After the
paint affect was done, I then gave the whole thing a coat of finishing wax and
the shield was almost complete. The only thing left to do was the edging. I
found out that shields had a raw hide edge that was sowed or nailed on while it
was still wet and flexible. As the raw hide dried out, it became taught and
really hard and tough.
The only
raw hide I could find was from a pet shop and although this would have been
ideal, it was just way to expensive as I needed 10 or 12 and they were about €4
each.
Instead of
using raw hide I decided to buy a roll of jute webbing as used in upholstery. I
sourced some on Amazon.co.uk and had this within a few days. It cost about €15
for 33m, which is a fantastic price and although I only needed about 3m, I will
use it for other projects.

I first of
all used a staple gun to fix the jute webbing and then drilled holes all around
the shield. I then used jute twine to sow the webbing onto the shield and when
this was finished, I removed all the staples. I used the jute twine on the grip
or handle of the shield and then wiped the iron oxide mix into all the jute,
which made it look old.

So this is
the finished shield. To be honest, it doesn’t look as good as the blind carving
when used as a wall hanging, but I will find a place to hang it some were in
the house.

I have got
to say I have enjoyed doing these projects and look forward to doing a few
more. I really would love to have a small workshop so I could do some complex
work and maybe start cabinetmaking again.
Once again,
thank you for reading my blog and please feel free to comment if you wish.
Wow thank you for this post, the finished product looks so good!
ReplyDeleteNice work. I am thinking about making such a shield myself and this is very helpful. Diolch, from a Welsh Celtic brother.
ReplyDelete